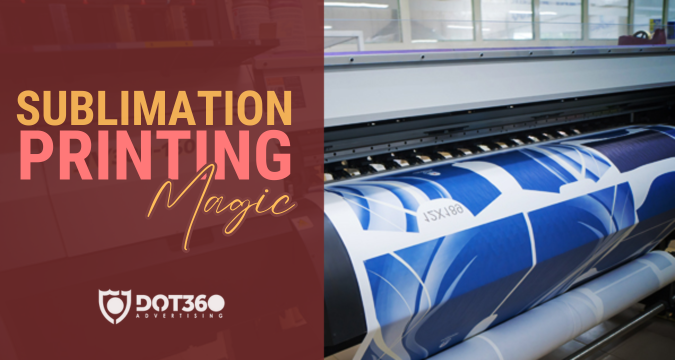
In a world where personal expression and creativity reign supreme, sublimation printing emerges as a mesmerizing technique to bring your designs to life. Whether you’re a seasoned artist or a curious beginner, this guide will lead you through every intricate step of the dye-sub printing process. Discover the magic that lies within each dye molecule and how it fuses seamlessly with fabric, creating unique, vivid, and lasting impressions.
Sublimation printing is a fascinating journey that starts with your imagination and culminates in vibrant creations. Let’s embark on this artistic voyage together, where colors and designs are only limited by your dreams.
Gathering Your Artillery: What You Need to Begin
As you step into the captivating world of dye-sub printing, it’s crucial to arm yourself with the essential tools and materials that will pave the way for your creative journey. Just like a painter needs their palette and brushes, a dye-sub enthusiast requires a well-curated set of equipment to bring their visions to life. This section delves into the components that constitute your sublimation arsenal and how each piece plays a vital role in the printing process.
High-Resolution Designs: Unleash Your Imagination
At the heart of every successful dye-sub print lies a captivating design. Whether you’re creating artwork, patterns, or logos, the clarity and vibrancy of your design are paramount. Invest time in conceptualizing and crafting your vision, and then translate it into a digital masterpiece using graphic design software like Adobe Photoshop or Adobe Illustrator. The key here is high resolution – opt for a minimum of 300 DPI (dots per inch) to ensure your design boasts sharp details when transferred onto various substrates.
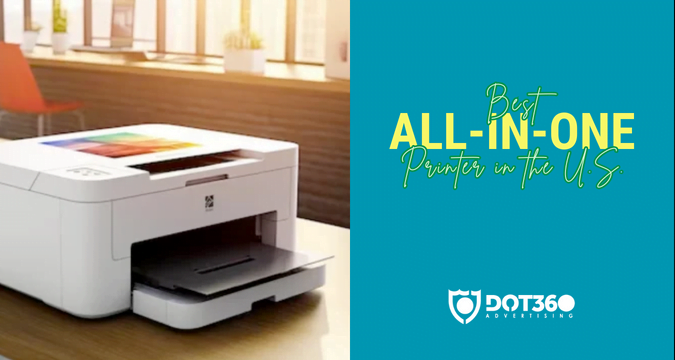
Sublimation Printer: The Workhorse of Creativity
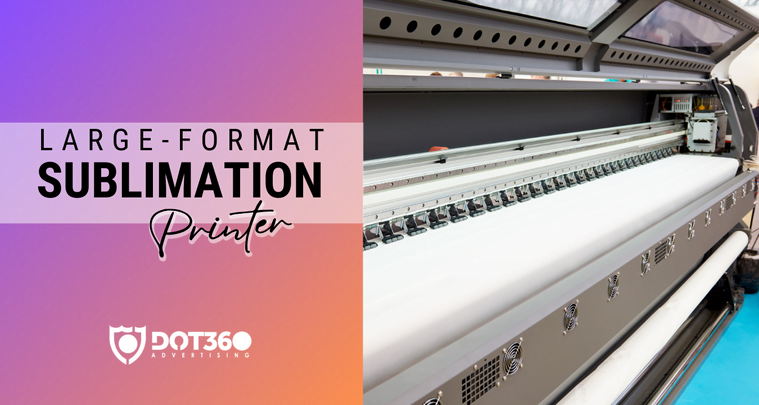
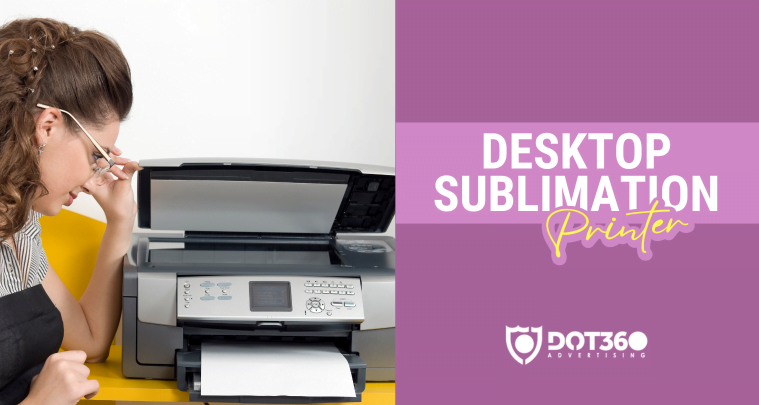
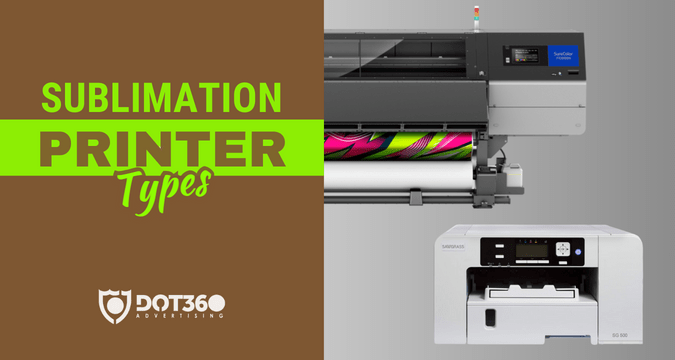
The sublimation printer is your ultimate partner in crime when it comes to bringing your designs to life. Unlike designs created by conventional printers, those produced by sublimation printers utilize specialized sublimation inks, poised for transfer onto substrates. Engineered to accommodate sublimation ink’s unique demands, these printers guarantee the preservation of vibrant and authentic colors throughout the transfer process.When selecting a sublimation printer, consider factors like print size, resolution, and compatibility with your design software.
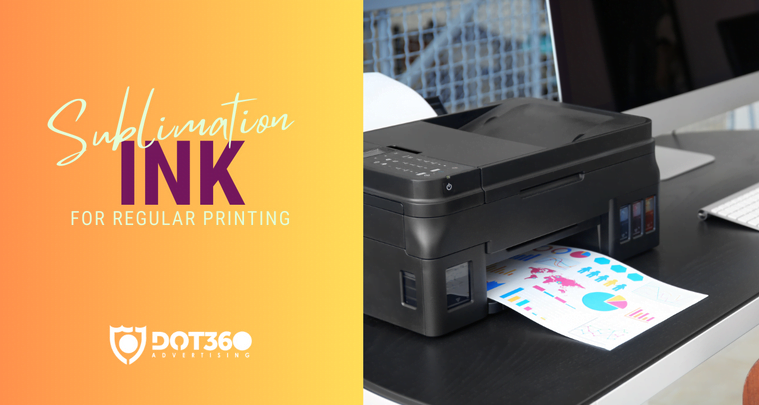
Sublimation Ink: The Magic Molecules
Sublimation ink is the secret sauce behind the entire dye-sub process. These inks, composed of vibrant pigments, transform from a solid to a gaseous state under heat. This unique transition allows the ink to penetrate the surface of the substrate and become a permanent part of the material. When purchasing sublimation ink, ensure that it’s compatible with your printer model for optimal results. The colors offered by sublimation ink are rich and durable, ensuring your designs retain their brilliance for years to come.
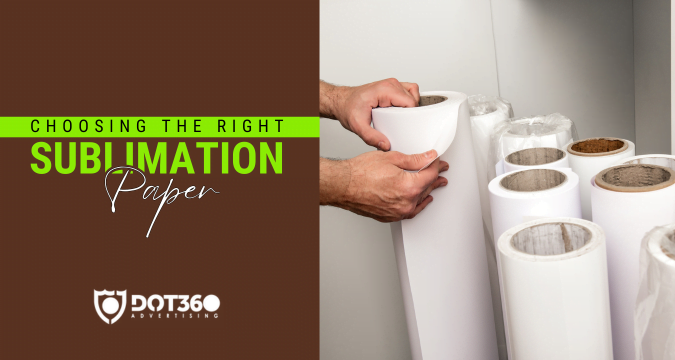
Sublimation Paper: Your Canvas for Transfer
Sublimation paper is the bridge between your printed design and the chosen substrate. It acts as an intermediary by absorbing the dye-sub ink during the printing process. The quality of the sublimation paper significantly influences the final outcome of your print, affecting the sharpness of the design, color vibrancy, and overall clarity. Choose sublimation paper that’s tailored to your specific printer and substrate to ensure seamless transfers and vibrant results.
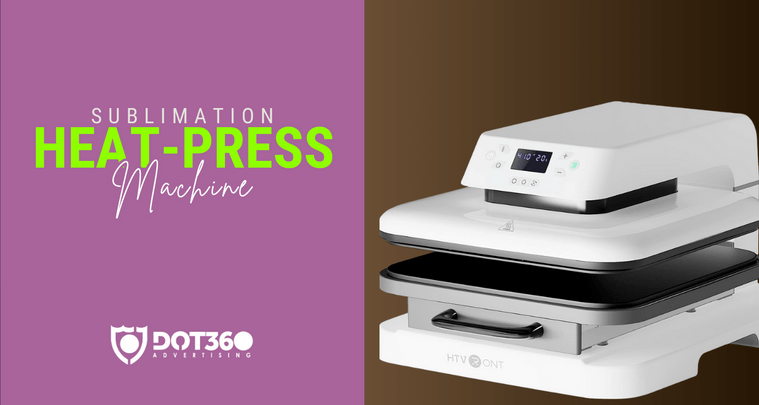
Heat Press Machine: Precision in Fusion
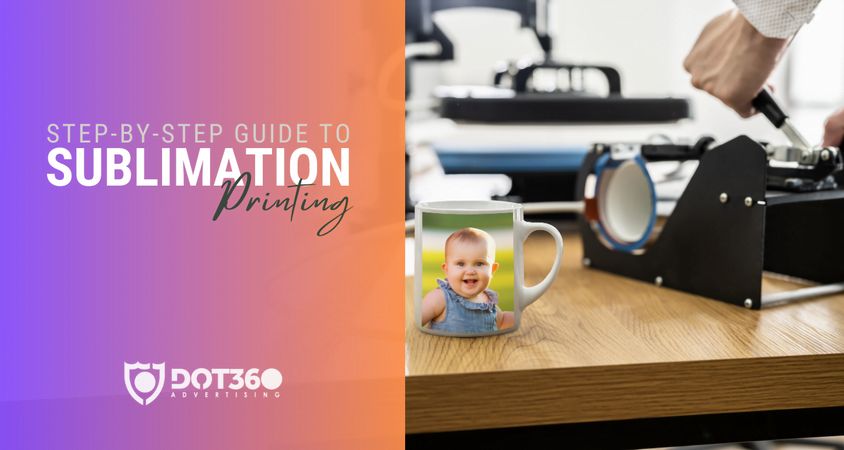
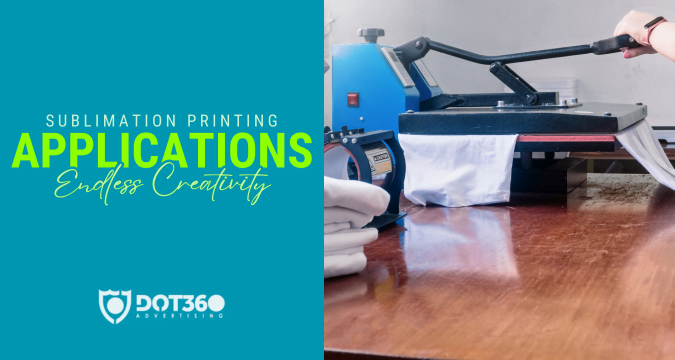
The heat press machine is the catalyst that transforms your printed design into a vibrant reality. It applies controlled heat and pressure to the sublimation paper and substrate, causing the dye-sub ink to transition from a gas back into a solid state, permanently embedding the design into the substrate’s fibers. When choosing a heat press, consider factors such as temperature control, pressure adjustment, and even distribution of heat. The right heat press ensures even color distribution and lasting results.
Substrates: Your Blank Canvases
Substrates are the surfaces onto which your designs will be transferred. These can range from fabrics like polyester shirts to hard surfaces like ceramic mugs. Each substrate requires specific considerations, as the sublimation process behaves differently on different materials. Polyester-based fabrics are ideal for dye-sub, as the ink bonds well with the synthetic fibers. For hard substrates like mugs or phone cases, look for those with a special polymer coating that enhances the adhesion of the ink.
Understanding Sublimation Printing Equipment
For a more in-depth understanding of dye-sub printing equipment, you can refer to this detailed guide on Sublimation Equipment, which provides valuable insights and expert recommendations.
Gathering your dye-sub artillery is a pivotal step on your creative journey. Each piece of equipment contributes to the precision and vibrancy of your final prints. As you accumulate the tools of the trade, you’re well on your way to transforming blank substrates into vibrant expressions of your imagination.
The Dance of Sublimation: Printing Your Design
As your meticulously crafted design takes shape on your computer screen, the next step in the dye-sub journey is to bring it to life on sublimation paper. This phase, often referred to as “the dance of sublimation,” involves the intricate process of transferring your design from the digital realm onto a tangible canvas, ready to embark on its transformative journey onto various substrates. Let’s explore each step of this mesmerizing dance, where your design transitions from pixels to pigment.
Sublimation Paper Selection: Choosing Your Canvas
The dance begins with selecting the right canvas—sublimation paper. Just as an artist chooses the type of paper for a particular medium, you must opt for sublimation paper that complements your intended substrate. There are various types of dye-sub paper designed for specific materials, from fabric to ceramics. Research and select the paper that aligns with your vision for the final product.
Printer Setup: Transforming Digital to Physical
With your canvas chosen, it’s time to prep your printer for the choreography ahead. Load your dye-sub printer with the appropriate sublimation ink cartridges, ensuring that they are correctly aligned. Make sure your printer settings are adjusted for mirror printing—this step ensures that the final print appears correctly when transferred.
Printing Process: The Art of Precision
As you hit the print button, the dance truly begins. Watch as your design emerges on the sublimation paper, with each detail coming to life. The sublimation printer intricately deposits sublimation ink onto the paper, capturing the colors, shapes, and nuances you’ve meticulously crafted in your design software.
Drying Time: Patience for Perfection
Once your design is printed onto the sublimation paper, exercise patience. Allow the ink to fully dry before proceeding to the next step. Drying time ensures that the ink settles onto the paper, ready to be transferred seamlessly onto the chosen substrate.
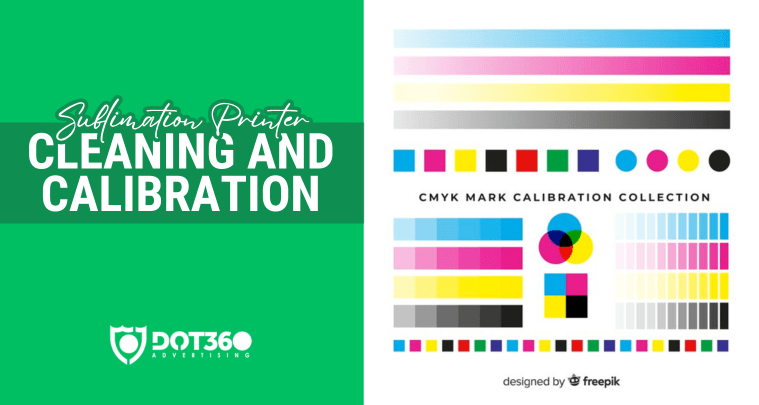
Sublimation Printer Calibration
For a comprehensive understanding of calibrating your dye-sub printer for optimal results, refer to this Sublimation Printer Calibration Guide. Calibration is the key to achieving accurate color reproduction and ensuring that your designs are consistently vibrant.
Designing Your Imagination: Crafting the Perfect Image
In the enchanting realm of dye-sub printing, your design serves as the cornerstone of creativity. It’s the very essence that transforms blank canvases into vibrant expressions of your imagination. Whether you’re a seasoned artist or someone embracing their artistic side for the first time, the process of crafting the perfect image is where magic and technology intertwine. This section delves deep into the art and science of design, guiding you through each step of the process, from selecting the right software to ensuring your creation is primed for its transformative journey onto substrates.
Choosing the Right Software: Where Inspiration Takes Shape
Just as a sculptor selects the finest marble, your choice of design software sets the stage for your creative journey. Embrace the power of graphic design software like Adobe Photoshop, CorelDRAW, or Illustrator. These digital canvases offer a playground where your imagination can flourish, allowing you to manipulate shapes, colors, and elements to breathe life into your vision.
Canvas Setup: Dimensions that Define
Before you paint your masterpiece, you need to set the canvas dimensions. Much like a painter selects the size of their canvas, your digital canvas dimensions dictate the scale and composition of your design. If you’re envisioning your design on specific substrates, ensure your canvas size aligns with the intended printing area. This meticulous attention to detail guarantees that your design is perfectly scaled and positioned when transferred onto the substrate.
High-Resolution Artwork: The Blueprint of Brilliance
In the world of dye-sub printing, attention to detail is paramount. High resolution is the cornerstone that ensures your design sparkles with clarity and vibrancy. Aim for a minimum resolution of 300 DPI (dots per inch) when creating your artwork. This resolution guarantees that your designs retain their crispness when transferred onto various substrates, ensuring that even the tiniest details are faithfully represented.
Color Management: Capturing the Spectrum of Creativity
Colors are the heartbeat of your design, and managing them accurately is essential. Embrace the CMYK color space in your design software, as it closely mirrors the four-color printing process used in dye-sub. This color space guarantees consistent color representation across mediums, ensuring that the vibrant hues you choose on your screen remain true when transferred onto substrates.
Mirror Printing: Flipping for the Final Flourish
A pivotal step in dye-sub printing is mirror printing. Your design must be horizontally flipped before being printed onto sublimation paper. This seemingly simple step is essential because the dye-sub process transfers the image in reverse onto the substrate. By flipping your design beforehand, you ensure that the final image appears correctly on the substrate, avoiding any unintended reversals.
The Art of Sublimation Design
For a deeper dive into sublimation design techniques and best practices, explore this comprehensive resource on Sublimation Design Tips. Discover how to infuse your creations with innovation and vibrancy.
Designing your dye-sub masterpiece is a journey where creativity takes center stage, guided by the precision of technology. As you experiment with colors, shapes, and elements, remember that your design is the vessel through which your imagination flows onto substrates. By mastering the art of design, you lay the foundation for dye-sub prints that are as unique and vibrant as the visions that inspire them.
Fusion of Art and Science: Transferring Your Design
The captivating journey of dye-sub printing reaches its zenith in the seamless fusion of art and science—the stage where your meticulously crafted design transcends the digital realm and takes its transformative leap onto the chosen substrate. This section delves into the heart of sublimation’s magic, exploring the intricate process of transferring your design through the dance of heat and pressure. Prepare to witness the alchemy that turns pixels into pigment and imagination into reality.
Sublimation Paper Alignment: The Prelude to Precision
Before the dance begins, precise alignment is crucial. Lay your sublimation paper face down onto the substrate, ensuring that your design aligns seamlessly with the intended printing area. This meticulous alignment guarantees that your design appears exactly where you envisioned it on the final product.
Heat Press Calibration: The Conductor of Temperature
The heat press machine, much like a conductor guiding an orchestra, plays a pivotal role in the transfer process. Calibration is key to ensuring that the heat press delivers the right temperature and pressure for a successful transfer. Precise calibration guarantees even heat distribution across the substrate, resulting in consistent color vibrancy and clarity.
Transfer Process Initiation: From Solid to Vapor
With the heat press calibrated, the transformation begins. As the heat press closes, heat and pressure combine to turn the solid sublimation ink on the paper into a gaseous state. This remarkable transition is known as sublimation, where molecules skip the liquid phase and move directly from solid to gas under heat.
Ink Infiltration: Weaving into Substrate’s Fabric
The sublimation ink, now in its gaseous state, permeates the fibers of the substrate. The open pores of the substrate material act as portals, allowing the ink molecules to weave themselves into the fabric’s structure. This fusion creates a bond that goes beyond the surface, ensuring that your design becomes an integral part of the substrate.
Cooling Phase: Solidification of Brilliance
As the transfer process concludes, the heat press machine opens, and your substrate is gently removed. The cooling phase is essential, allowing the sublimation ink to solidify once again. This step ensures that your design remains embedded within the substrate’s fibers, promising longevity and vibrant color retention.
Quality Inspection: Unveiling the Masterpiece
As the cooling phase concludes, it’s time to unveil the masterpiece. Gently peel back the sublimation paper to reveal your design in all its glory. Every intricate detail, every vibrant hue, and every stroke of creativity is now tangible, transforming what was once a digital abstraction into a physical manifestation of artistry.
Mastering Sublimation Transfer
For an in-depth exploration of mastering sublimation transfer techniques, refer to this insightful resource on Sublimation Transfer Mastery. Discover expert tips and techniques to ensure flawless transfers every time.
The fusion of art and science in dye-sub printing is a symphony of meticulous preparation and precise execution. The heat press becomes your brushstroke, and the sublimation ink transforms into the vivid pigments of your imagination. As you witness the metamorphosis from digital design to tangible creation, you’re drawn into the heart of sublimation’s captivating dance—a dance that transforms ordinary substrates into extraordinary canvases of self-expression.
Revealing the Masterpiece: Unveiling Your Creation
As you peel away the paper, your creation emerges in all its vibrant glory:
- Peeling Carefully: Remove the paper gently to avoid smudging the design.
- Inspecting the Print: Check for any imperfections or areas that need touch-ups.
Finishing Touches: Ensuring Longevity
To ensure your masterpiece stands the test of time:
- Heat Fixation: Place the substrate back in the heat press for a final curing process.
- Washing Guidelines: Follow specific washing instructions to maintain the vibrancy.
Exploring Possibilities: Substrates Beyond the Ordinary
In the enchanting realm of dye-sub printing, the canvas of creativity expands far beyond traditional boundaries. The process of sublimation doesn’t confine itself to fabric alone—its magic extends to an array of substrates that serve as blank canvases waiting to be transformed. This section delves into the exciting world of substrates beyond the ordinary, unveiling the diverse materials that can be adorned with sublimation prints, from everyday objects to personalized keepsakes.
Polyester Fabric: The Classic Canvas
While fabric might be the most familiar substrate, it’s anything but ordinary in the realm of sublimation. Polyester fabrics are the quintessential canvas for dye-sub printing due to their affinity for sublimation ink. T-shirts, jerseys, activewear, and even home textiles like cushions and curtains can be transformed into wearable art and home decor through sublimation. The process ensures that the ink permeates the fabric’s fibers, resulting in vibrant, long-lasting prints.
Ceramic and Glass: Functional Artistry
Sublimation extends its enchantment to ceramics and glass, turning them into functional works of art. Mugs, plates, and glassware become personalized treasures as your designs wrap around these everyday objects. The sublimation ink adheres seamlessly to the ceramic or glass surface, creating prints that are both visually stunning and dishwasher-safe.
Metal: Shimmering Elegance
Metal substrates open up a realm of possibilities for sublimation enthusiasts. Aluminum panels and metal sheets transform into striking pieces of wall art, capturing the nuances of your design with astonishing detail. The sublimation process infuses the metal surface with vibrant color, producing prints that shimmer with a unique metallic sheen.
Wood: Rustic Charm Meets Creativity
The marriage of wood and sublimation brings forth a blend of rustic charm and artistic expression. Wooden coasters, plaques, and signs become personalized keepsakes that blend the warmth of wood with the vibrancy of sublimation ink. The ink bonds with the wood fibers, resulting in prints that boast a tactile, vintage-inspired allure.
Innovative Sublimation Substrates
For a deeper exploration of innovative sublimation substrates, refer to this informative resource on Innovative Sublimation Substrates. Discover how to transform unconventional materials into unique canvases for your creativity.
Hardboard and Acrylic: Modern Elegance
Hardboard and acrylic substrates offer a contemporary twist on sublimation. Coasters, keychains, and even smartphone cases made from these materials become modern showcases for your designs. Sublimation seamlessly integrates with their smooth surfaces, resulting in prints that exude both elegance and durability.
Textile Accessories: Style with Substance
Sublimation extends its charm to textile accessories, enriching the world of fashion and personalization. Purses, scarves, and even footwear can bear your unique designs, allowing you to express your style in ways that are as bold and diverse as your imagination.
Conclusion:
As you conclude this guide, you stand at the threshold of a captivating sublimation journey. Armed with the knowledge of each step, from crafting your design to transferring it onto various substrates, your creativity knows no bounds. dye-sub printing invites you to turn ordinary objects into personalized masterpieces, and with every creation, you infuse a piece of your artistic soul. Let your imagination take flight as you embark on your very own sublimation adventure!
Step-by-Step Guide to Sublimation Printing is more than just a process; it’s an artistic expedition where innovation and imagination intertwine. With dedication and a touch of whimsy, you can transform blank canvases into colorful reflections of your unique style and creativity. It’s time to unleash your artistic prowess through the mesmerizing art of dye-sub printing.
FAQs about Sublimation Printing
Q1: Can I use any printer for dye-sub printing?
A1: No, you need a specialized dye-sub printer with sublimation ink.
Q2: Are there limitations to color choices?
A2: Sublimation offers a wide color range, but exact color matching may vary.
Q3: Is dye-sub printing cost-effective?
A3: While initial setup costs can be higher, the quality and durability justify the investment.
Q4: Can I print on dark-colored fabrics?
A4: Sublimation works best on light-colored fabrics as it doesn’t include white ink.
Q5: Is sublimation eco-friendly?
A5: Sublimation inks are water-based, making them more eco-friendly than traditional inks.
Q6: Can I sublimate on cotton fabric?
A6: Sublimation doesn’t work on natural fibers like cotton; it’s ideal for polyester and polymer-coated items.

