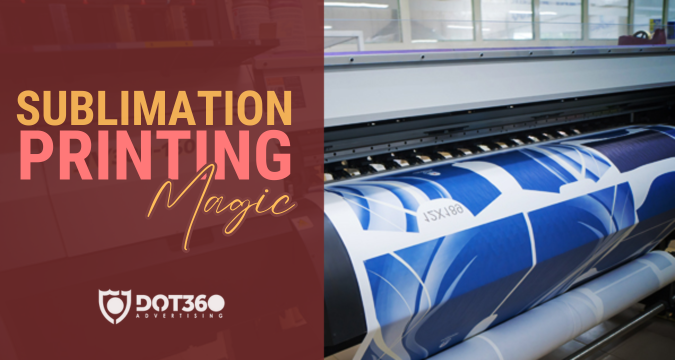
In the world of sublimation printing, your printer is your trusty companion, faithfully bringing your creative visions to life on various surfaces. To ensure it consistently delivers high-quality prints, regular Sublimation Printer Cleaning and Calibration maintenance is essential. Sublimation Printer Cleaning and calibrating your sublimation printer might sound like a daunting task, but fear not; we’ve got you covered.
In this in-depth guide, we will walk you through the intricacies of keeping your sublimation printer in top-notch condition. From basic cleaning procedures to advanced calibration techniques, we’ll cover it all. So, roll up your sleeves and get ready to embark on a journey to master the art of maintaining your sublimation printer.
Cleaning and Calibrating Your Sublimation Printer: An Overview
Before diving into the nitty-gritty of Cleaning and Calibration of Sublimation Printer, let’s start with a brief overview of what these terms mean in the context of sublimation printing.
Cleaning Your Sublimation Printer
Cleaning your sublimation printer involves removing dust, ink residues, and other contaminants from its various components. This process ensures that your prints remain sharp and vibrant.
Calibrating Your Sublimation Printer
Calibrating your sublimation printer refers to fine-tuning its settings to achieve accurate color reproduction and consistent print quality. This is especially important for businesses that rely on precise color matching.
Now, let’s break down the cleaning and calibration processes step by step.
Cleaning Your Sublimation Printer
Proper cleaning is the foundation of a well-maintained sublimation printer. Neglecting this crucial step can lead to print defects and reduced longevity of your equipment. Here’s how to do it:
1. Gather Your Cleaning Supplies
To start, assemble the necessary cleaning supplies:
- Soft lint-free cloths
- Isopropyl alcohol
- Distilled water
- Cotton swabs
- Compressed air can
- Latex gloves
2. Power Off and Unplug Your Printer
Safety first! Before you begin cleaning, turn off your sublimation printer and unplug it from the electrical outlet. This prevents any accidental damage or electric shock.
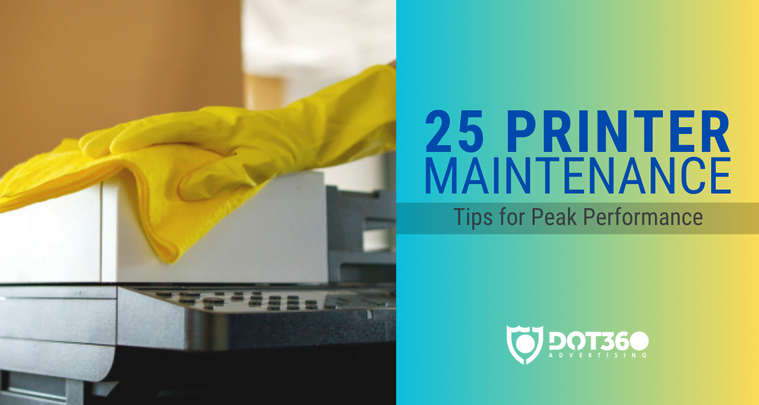
3. Clean the Exterior
Use a soft cloth dampened with a mixture of isopropyl alcohol and distilled water to gently wipe down the exterior of the printer. This removes dust and fingerprints that can affect its appearance.
4. Clean the Print Heads
Print heads are susceptible to clogs, which can result in streaky prints. To clean them:
- Open the printer’s cover to access the print heads.
- Dampen a lint-free cloth with water and wipe the print heads gently.
- If clogs persist, use cotton swabs and isopropyl alcohol to carefully clean the nozzles.
5. Clean the Rollers and Paper Path
Dust and paper debris can accumulate in the rollers and paper path, leading to paper jams. Follow these steps to clean them:
- Remove any loose debris by hand.
- Use compressed air to blow out remaining dust.
- Wipe the rollers with a lint-free cloth.
6. Reassemble and Test
Once everything is clean and dry, reassemble your printer and power it on. Print a test page to ensure that the cleaning process hasn’t adversely affected print quality.
7. Regular Maintenance Schedule
Establish a regular cleaning schedule to keep your sublimation printer in optimal condition. Depending on your usage, aim to clean it every two to four weeks.
Cleaning your printer is just the first step in ensuring it operates at its best. Now, let’s delve into the intricate world of calibrating your sublimation printer for exceptional results.
Calibrating Your Sublimation Printer
Calibrating your sublimation printer is an advanced yet crucial aspect of maintaining print quality. It involves adjusting various settings to achieve accurate colors and consistency. Here’s how to go about it:
1. Understand Color Calibration
Color calibration ensures that the colors in your prints match your digital designs. This is vital for businesses that demand precise color matching, such as those in the fashion and textile industry.
2. Use a Calibration Device
Invest in a color calibration device, such as a spectrophotometer or colorimeter. These tools measure color accuracy and help you adjust your printer’s settings accordingly.
3. Install Calibration Software
Most sublimation printers come with calibration software. Install it on your computer and follow the manufacturer’s instructions for setting it up.
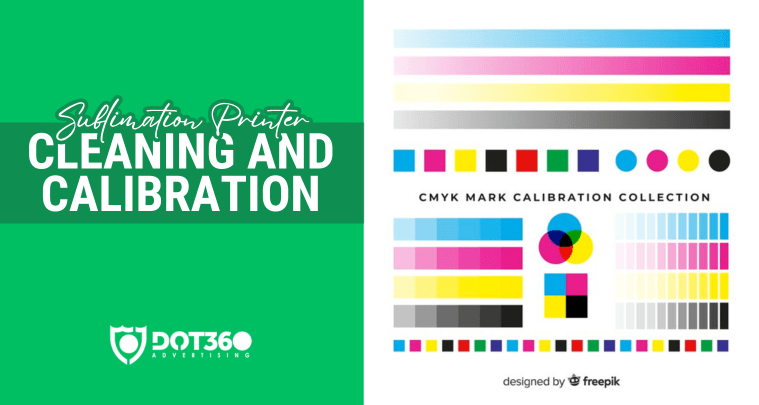
4. Print a Calibration Test Page
The software will guide you through the process of printing a calibration test page. This page contains a range of colors and patterns used to assess your printer’s performance.
5. Adjust Printer Settings
Examine the printed test page and compare it to the reference image provided by the calibration software. If there are discrepancies, use the software to adjust your printer’s settings, including brightness, contrast, and color balance.
6. Repeat as Needed
Calibration may require several iterations to achieve the desired results. Be patient and continue adjusting until you achieve accurate color reproduction.
7. Save Calibration Profiles
Once you’ve calibrated your printer, save the calibration profiles for different types of media and printing conditions. This allows you to switch between profiles as needed.
8. Adjusting Third-Party Ink: Dealing with Color Challenges
The majority of third-party ink suppliers do not offer an ICC profile, which can pose challenges in terms of color accuracy. In such cases, you may find this video tutorial on manually calibrating your color settings helpful.
Conclusion
Sublimation Printer Cleaning and Calibration are essential steps to ensure it operates at its peak performance. By following the steps outlined in this comprehensive guide, you’ll not only extend the life of your printer but also consistently produce high-quality prints.
Remember, regular maintenance is the key to success in sublimation printing. So, don’t wait; start cleaning and calibrating your sublimation printer today to unleash its full potential and bring your creative visions to life with precision and vibrancy. Your sublimation printer will thank you for it!
Frequently Ask Questions (FAQ)
Q1: How often should I clean my sublimation printer?
A1: It’s recommended to clean your printer every two to four weeks, depending on usage. Regular cleaning prevents dust buildup and maintains print quality.
Q2: Can I use regular cleaning wipes on my sublimation printer?
A2: No, it’s best to use lint-free cloths dampened with a mixture of isopropyl alcohol and distilled water. Regular cleaning wipes may leave residue or damage sensitive components.
Q3: Why is color calibration important for sublimation printing?
A3: Color calibration ensures that the colors in your prints match your digital designs accurately. This is essential for businesses that require precise color matching.
Q4: What if I don’t have a calibration device?
A4: While a calibration device is recommended for professional results, you can perform basic calibration using your printer’s built-in software. However, the accuracy may not be as high.
Q5: Can I calibrate my sublimation printer for different types of paper?
A5: Yes, you can create and save calibration profiles for different types of media. This allows you to achieve consistent results on various materials.
Q6: How can I tell if my sublimation printer needs calibration?
A6: If you notice color inconsistencies, inaccurate prints, or frequent color shifts, it’s a sign that your printer may require calibration.

